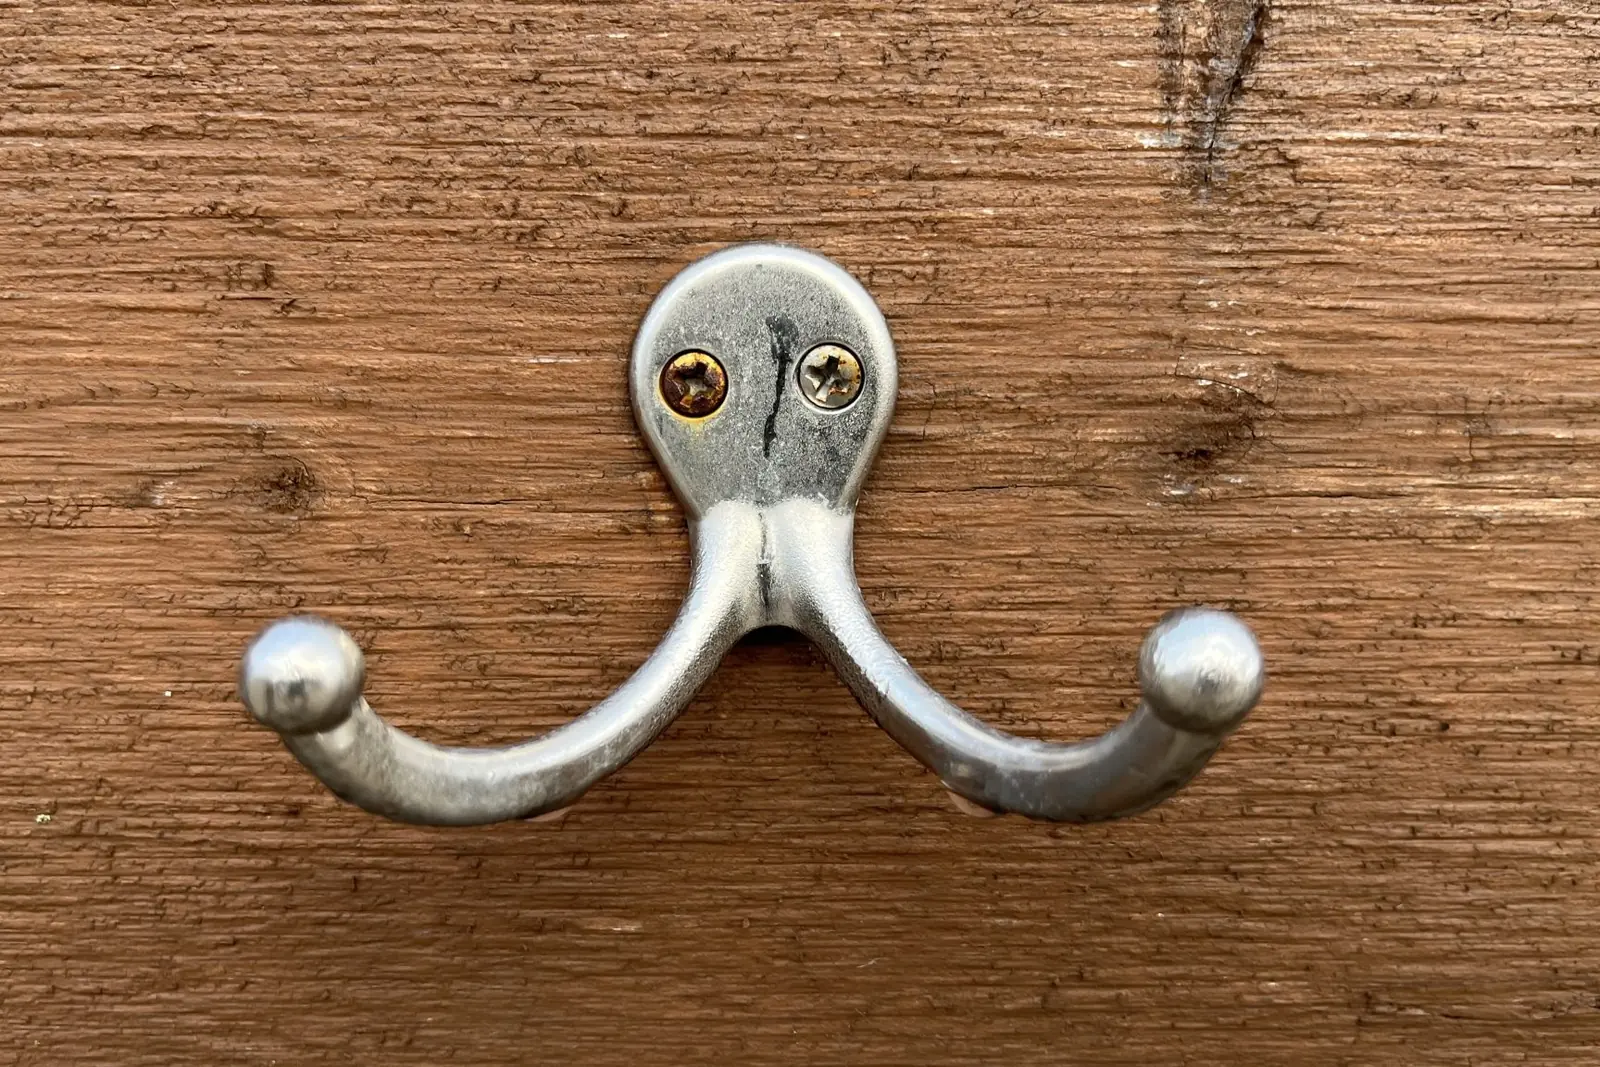
If you only add one thing to an entryway, make it a peg rail shelf. It is a strip of wood with a row of turned pegs and a narrow shelf on top, and it quietly solves the coats-on-the-chair, keys-on-the-counter, bags-on-the-floor problem most homes have. Paired with a shiplap wall, it turns a pass-through space into a real landing zone, and it happens to be one of the easiest places in a home to decorate for the holidays. This post covers how to plan one, how to make oak pegs or choose store-bought ones, how to mount it securely on shiplap, and how to style it for Christmas without losing the function.
Why a Shaker peg shelf works so well
Shaker communities used long peg rails around rooms to hang chairs, clothing, tools and cabinets off the floor. The idea has lasted because it is flexible. A peg does not care if you hang a coat, a tote, a broom, a mirror on a cord or a garland. Add a shelf on top and you get somewhere for mail, a small plant, a basket for gloves, or holiday greenery.
It is also an approachable project. You need straight boards, a drill, a way to find studs and some patience with a level. No complicated joinery is required.
Planning your peg rail shelf
Length and peg spacing
Measure the wall and decide how much of it you want the rail to span. A rail that runs most of the wall looks intentional; a short rail centered on a wide wall can look lost. Peg spacing depends on what you hang:
- Coats and bags: about 8 to 12 inches apart so bulky items do not crowd each other.
- Lighter items and decor: about 6 to 8 inches apart.
- End margins: keep the first and last pegs roughly half a space to a full space in from the ends, so the rail looks balanced.
Use the calculator below to work out how many pegs fit your rail and exactly where to mark the holes so the spacing comes out even.
Peg rail spacing calculator
Peg count, exact center marks and rail height.
Height
For adults hanging coats, 60 to 66 inches to the pegs is a comfortable range, but stand at the wall and reach to check. If you have kids, a second lower rail or a row of mini Shaker pegs on a separate board lets them hang their own backpacks.
Materials
- A rail board, commonly a 1x4 or 1x5 in poplar, oak or clear pine
- A shelf board, often a 1x6 or 1x8, the same length or slightly longer than the rail
- Shaker pegs, store-bought or homemade
- Wood glue, finish (paint, oil or polyurethane)
- Screws long enough to reach well into the studs through the rail and the shiplap
- Optional: small brackets or a cleat to support the shelf
How to make oak pegs
Store-bought pegs are inexpensive and consistent, but making your own is a satisfying upgrade if you have the tools. Oak is a great choice because it is strong, takes stain evenly and has a lovely grain.
- Cut blanks. Rip oak into square blanks slightly larger than your finished peg diameter and cut to length with extra for the lathe.
- Turn the profile. On a lathe, rough the blank to a cylinder, then shape the classic profile: a rounded mushroom head, a gently tapered shaft and a short tenon at the back. Make a cardboard template from your first good peg and check every one against it.
- Size the tenon. Turn the tenon to the diameter of a drill bit you own, often 1/2 inch, and check it with calipers or a test hole in scrap. A snug fit with a little glue is ideal.
- Sand on the lathe. Work up through the grits while the piece is spinning, then part it off.
No lathe? You can make a simpler square or tapered peg from oak dowel. Cut the dowel to length, chamfer or round the front end, and sand. It will not have the classic turned shape, but it looks clean and modern.
Drilling the rail
This is the step that makes or breaks the project. Mark all your hole positions from the calculator onto the center line of the rail. Then:
- Use a drill press if you have one, or a drilling guide, so the holes are straight.
- Many builders tilt the holes slightly upward, a few degrees, so the pegs angle up and items do not slide off. A simple wedge under the board on the drill press does the trick.
- Drill to the depth of the tenon. A piece of tape on the bit is a good depth stop.
- Dry-fit every peg before gluing.
Paint or finish the rail and pegs separately, then glue the pegs in. Finishing first keeps glue squeeze-out off the visible surfaces and makes painting much easier.
Mounting shelves on a shiplap wall
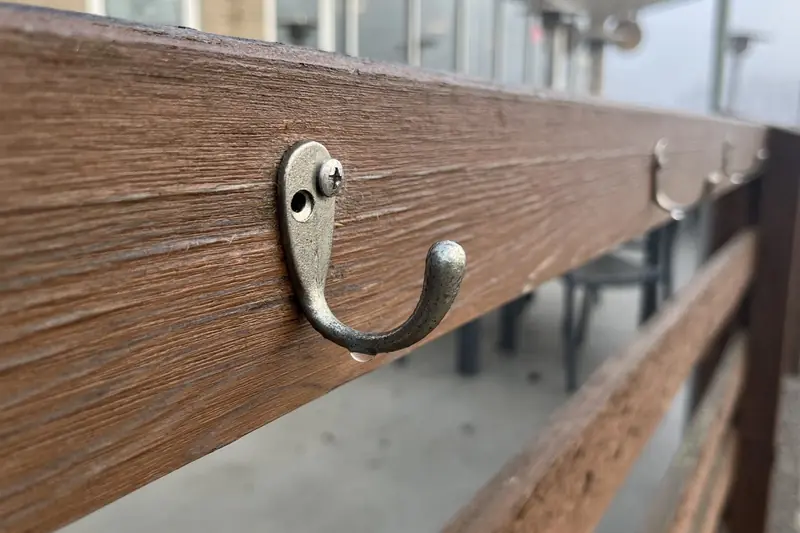
Shiplap looks solid, but each board is only held by nails, and the boards themselves are thin. Do not rely on them to carry a rail full of winter coats.
- Find the studs. A stud finder sometimes struggles through shiplap. Look for the nail lines you or the installer left, which should line up with studs, or use a strong magnet to find the nails.
- Mark and level. Mark the rail height, snap or draw a level line, and mark stud locations on the line.
- Pre-drill and countersink. Drill through the rail at each stud, countersink the screw heads and drive screws through the shiplap into the studs.
- Add the shelf. Set the shelf on top of the rail and fasten it down into the rail, or support it with small brackets or a cleat behind. A shelf that is wider than about 6 inches benefits from extra support.
- Fill and touch up. Plug or fill the screw holes, sand and touch up the paint.
If you are still choosing the shiplap itself, line the rail up with a board seam so the top edge of the rail sits cleanly against a horizontal line. It makes the whole wall look more deliberate.
Styling a peg rail for Christmas
The fun part. A peg rail is basically made for seasonal decor.
- Drape a garland along the shelf and let it hang down between pegs.
- Hang small wreaths on ribbon from a few pegs.
- Use one peg for a basket of mittens and hats so guests know where to find them.
- Stockings work beautifully on a lower rail when there is no mantel.
- Keep at least a few pegs free for actual coats. Function first.
- Peg spacing and count planned
- Rail and shelf boards cut and sanded
- Holes drilled at a slight upward angle
- Rail, shelf and pegs finished
- Pegs glued and cured
- Studs located through the shiplap
- Rail screwed into studs and leveled
- Shelf attached and supported
A peg rail shelf is the kind of project that makes a house work better every single day. If you are on a home project streak, take a look at our guide to displaying objects on walls for more ways to use vertical space, and our guide to buying and hanging lights if the entry needs a new fixture too. More projects live on our lifestyle page.
Questions, answered
How high should a peg rail be mounted?
For an entry, roughly 60 to 66 inches from the floor to the pegs works for most adults hanging coats and bags. If kids will use it, consider a second, lower rail or mini pegs around 36 to 42 inches.
What size hole do I drill for Shaker pegs?
Match the hole to the peg's tenon, which is commonly 1/2 inch on standard pegs and smaller on mini pegs. Measure your pegs with calipers or test-drill a scrap piece before drilling the rail.
Can I mount a peg rail to shiplap without hitting studs?
Shiplap boards are thin and nails alone are not enough for coats and bags. Locate the studs behind the shiplap and screw the rail into them, or use heavy-duty anchors rated for the load if studs truly are not available.
What wood is best for pegs?
Hardwoods like oak, maple and cherry are traditional because they resist wear and do not snap easily. Pine pegs look fine for decor but can break under heavy loads.
Diy Jaz & Theo Weekly Adventures
First published in Dec 2019 and fully rewritten and updated for 2026. Details like permits, fees and hours change — confirm them with the venue or land manager before you go.